
At GeekaWhat, we pride ourselves on our in-depth product testing which are conducted by our in-house team of writers and benchmarkers. Transparency is also one of our editorial promises, in which we ensure that all of the products in the office are fully tested and have detailed documentation on how they perform. In this article, we’ll be doing a deep dive on how we test cases here at GeekaWhat. A PC Case houses all of your important components, so ensuring your chassis offers enough space for your build, while maintaining good airflow so thermals don’t skyrocket, is vital.
We also believe that sharing our methodologies and processes is important, so that our readers can understand how we reached our conclusions, and replicate the same results at home. This also allows our audience to test their own PC build as a reference point when comparing against our data, which will help inform any decisions on upgrades.
Our Testing Rig
Unlike other parts like graphics cards or CPUs, the case that our benchmarking system utilises will remain the same during testing. This ensures consistency between varying component tests, and reduces the likelihood of anomalous data such as poor thermals. By picking out the right case for our benchmarking system this will also minimise compatibility issues when installing new components. For example, we often have to change our choice of motherboard dependent on the CPU we’re testing, as Intel and AMD aren’t cross-compatible.
When testing PC cases, the testing rig that we use is comprised of the same components from previous benchmarking runs, but in an entirely different chassis. This ensures consistency across our results.
There are measures that we’ve put into place to keep things fair across our data. Despite swapping out our choice of chassis on a case by case basis, we employ the following rules across our component choices:
- All components apart from the chassis will remain the same whenever we test new cases.
- All fans are set to stock speeds with no fan curve changes (this is typical of most user’s systems).
- No additional fans are added apart pre-installed options and CPU cooler fans (we will however use due diligence if a chassis does not come with any fans).
Our testing rig is updated regularly to reduce CPU and memory bottlenecks. Any change made to our benchmarking system will always lead to us running entirely new data for all data points in our tests.
| Component | Name |
|---|---|
| CPU | AMD Ryzen 7 7700X |
| CPU Cooler | Deepcool LS720 360mm AIO |
| Motherboard (Intel 13th Gen & 14th Gen) | ASUS ROG Maximus Z790 Hero |
| Motherboard (Ryzen 7000) | MSI MEG X670E ACE |
| Motherboard (Ryzen 5000) | Gigabyte AORUS X570 Master |
| RAM (Ryzen 7000, Intel 12th Gen & 13th Gen) | G.Skill Trident Z NEO 32GB 6000MT/s CL32 |
| RAM (Ryzen 5000) | Corsair Vengeance RGB SL 32GB 2600MT/s CL18 |
| SSD | Seagate Firecuda 530 2TB |
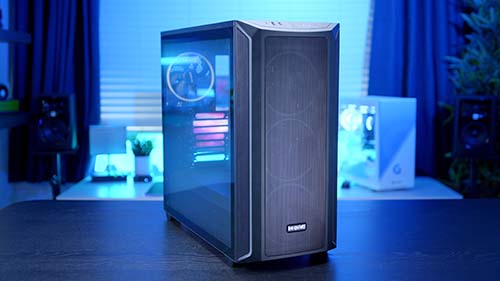
| Case (Optionally changes when testing new cases) | be quiet! Shadow Base 800 FX |
| PSU | Thermaltake Toughpower 1350W |
Tools We Use to Test Cases
We use a range of software tools to facilitate testing cases. These are as follows:
- HW Monitor Pro: This general hardware monitoring tool allows for detailed temperature data across all of the components within our case of choice.
- CPU-Z: This tool is used to stress test our benchmarking system, putting a synthetic load on our components.
- MSI Afterburner + RTSS: This is used to monitor fan speeds and temperatures in an in-game environment.
- Windows Task Manager: We find the built in Windows Task Manager (Ctrl + Shift + Esc) to be one of the best ways to monitor load across our system.
We use these tools primarily to assess airflow and thermals. By putting a synthetic load on our CPU and GPU we can see how well our system performs thermally with different workloads and thread configurations.
Testing Cases Within a PC Build
While ensuring our case airflow is adequate enough to keep a lid on thermals, this isn’t the primary factor that we consider when testing cases. The building experience, robustness, and features of a case are equally important as temperatures.
The way that we test these areas, is through building with it. Every case that we’ve had in the office has featured in a PC build on the YouTube channel, or has had a full writeup on the website. This allows us to see what the case offers on the features front, but also allows us to assess how versatile each case is, and whether it is easy to build in.
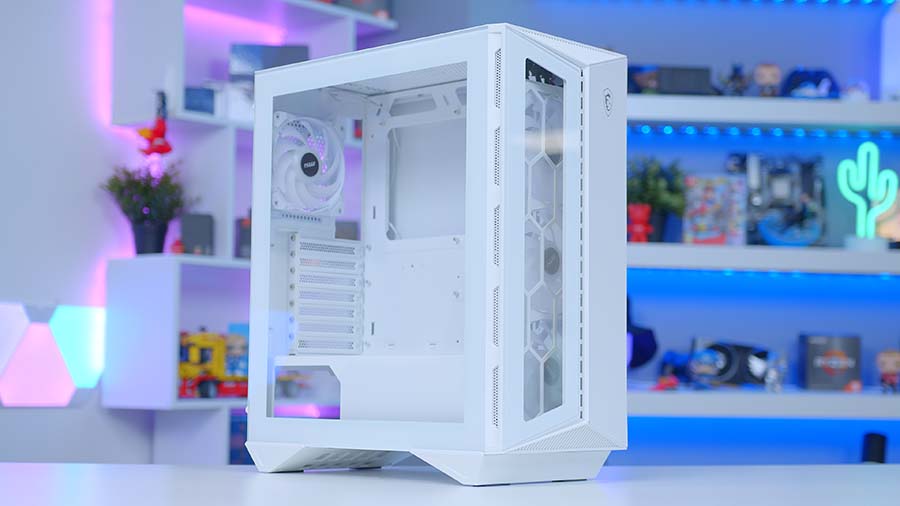
For example, MSI’s MPG Gungnir 300R Airflow caters to a range of builders as there’s plenty of space for components. This chassis is simple to build in, making cable management simplistic with its various channels and ties situated at the rear of the case.
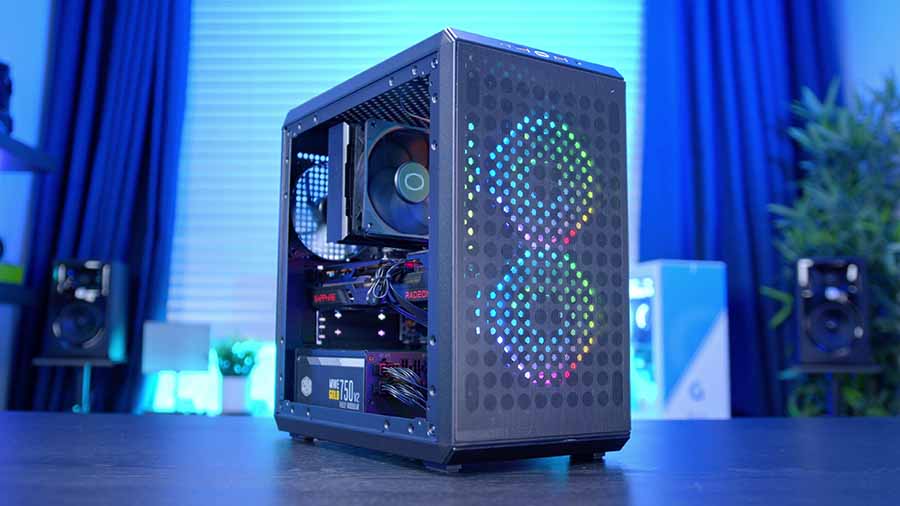
Cooler Master’s Q300L V2 alternatively isn’t as strong when compared to the Gungnir 300R Airflow. The Q300L V2 doesn’t offer much when it comes to versatility features, and is considerably tighter and harder to build in due to its size.
It is important that all cases are built in, this allows us to assess how a chassis will perform in a range of situations, and whether the value-proposition is good considering the various features and build quality.
Why You Can Trust Us
We know that trust is one of the most important things, which is why we’re building out a detailed library of all of our testing methodologies. Our team of writers are hardware geeks whose sole remit is to recommend only the best products to our audience of readers and viewers across our platforms. No one in our editorial team is incentivised to recommend any singular product. You can read our full editorial policy to learn more about our team, core principles and how we make money.


